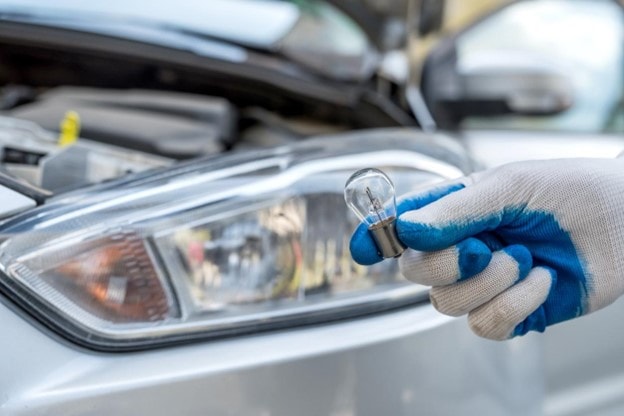
How to Safely Replace a Headlight at Home
Driving at night without adequately functioning headlights can be incredibly hazardous and lead to a traffic stop if you are not diligent. While the most common solution would be to take your vehicle to a mechanic’s shop and have them perform the replacement, there is a way to do it at home! Follow the steps below to learn how to replace your headlight bulbs right in your driveway or garage!

Steps to Replace Your Headlights
- Setup: Before you begin, make sure you are wearing gloves and have the correct bulb that you can find in your owner's manual. You will also need to ensure that the vehicle is turned off.
- Open the Hood: Pop open the hood and locate the back of the headlight housing. You will then need to disconnect the power wires, which are usually held in place by a clip or cap of some sort.
- Replacing the Bulb: Once the headlight assembly is exposed, you can gently unscrew the old bulbs and clean the housing unit with an alcohol wipe. You can then put on your gloves and place the new halogen bulb in the socket. Then reassemble the entire unit and reconnect the wires.
Once you have completed these steps, you can test your work by turning the car back on and seeing if the lights activate. Be sure to check both the high and low beams, as you don’t want to lose any road visibility after this process. If nothing is shining, it may be a good idea to consult your owner’s manual once more to ensure you have the correct lights.
If you want to guarantee that you have the correct halogen headlights, then contact the parts department at Hawk Subaru!


